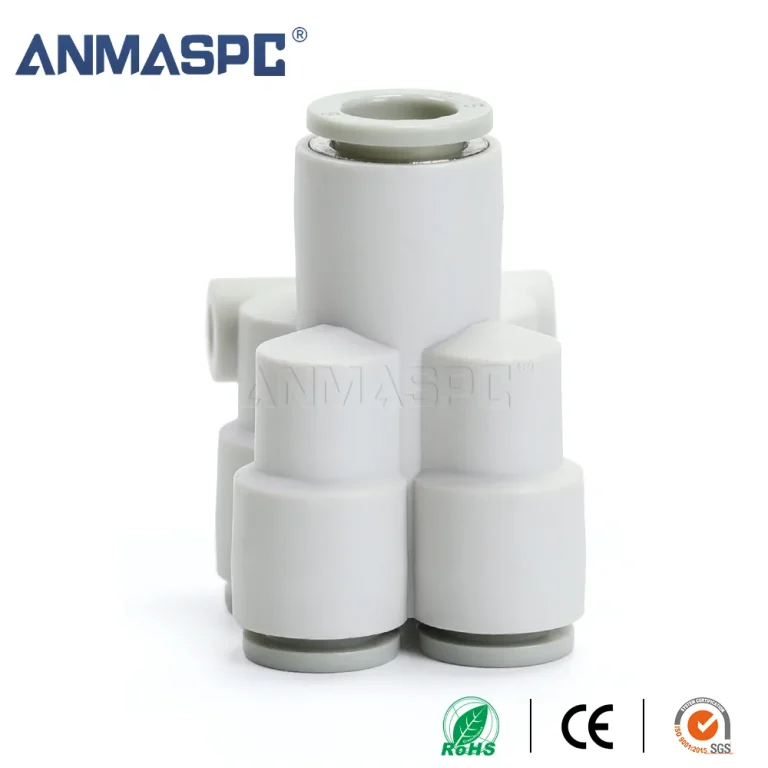
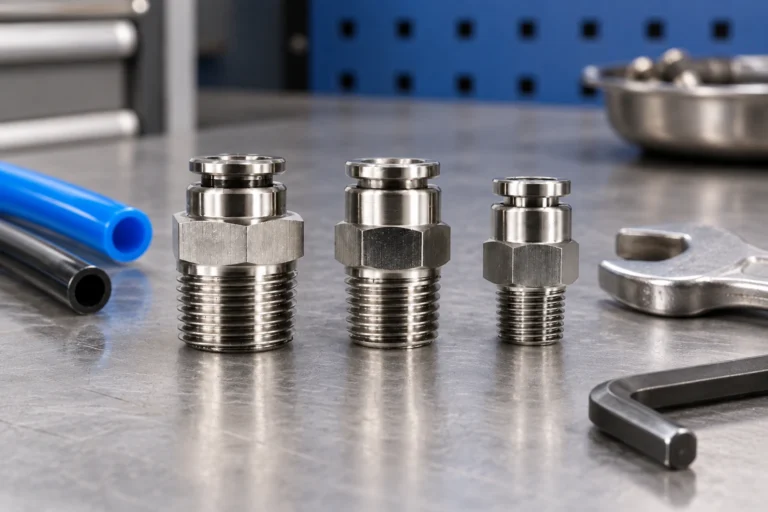
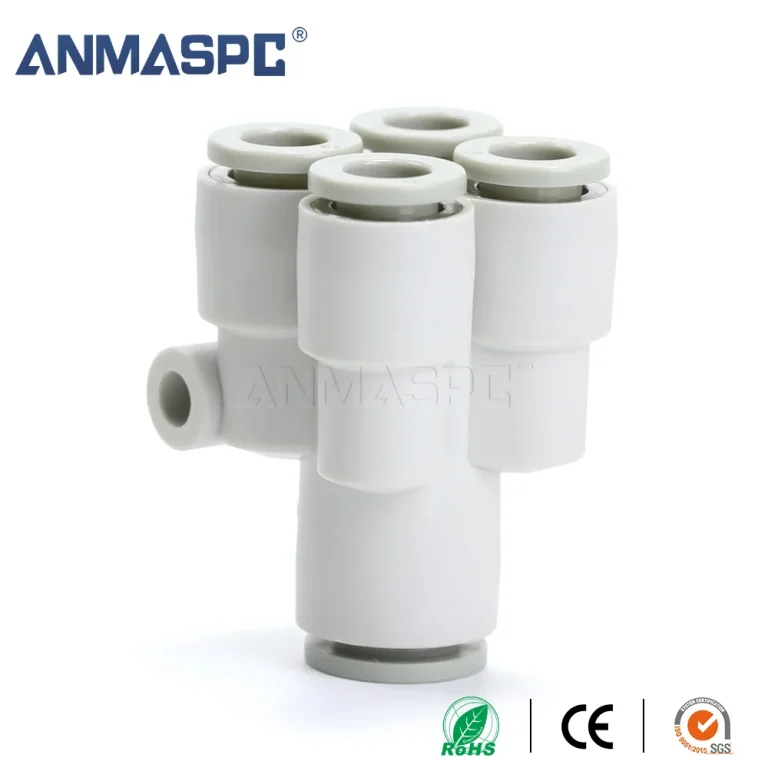
A maintenance team can lose hours to a small air leak when a push-in fitting was chosen from a catalogue photo instead of a controlled specification. The visible symptom may be a hissing line, a slow actuator or repeated tube ejection; the root cause is often a mismatch between tube outside diameter (OD), thread form, seal, material or service conditions. This checklist explains how to select Pneumatic Push In Air Fittings for automated equipment and air lines, how to prepare and seat the tube, and which documents should be retained for maintenance. The goal is not to claim one universal fitting, but to make the selection traceable before a part is ordered or installed.
Резюме: Match the fitting to the measured tube OD and approved tube material first, then identify the port as BSPP, BSPT or NPT rather than relying on a nominal “quarter-inch” label. Confirm the supplier’s working-pressure and temperature limits for the complete assembly, and apply the installation method that protects the cut and seats the tube fully. ISO 4414:2010 sets general safety requirements for pneumatic fluid-power systems; it is not a product rating. The next action is to attach the tube drawing, thread callout, medium, temperature and acceptance check to the purchase specification.
What must be specified before ordering a push-in fitting?
A push-in connection has two independent interfaces: the tube end that is retained and sealed by the collet and seal, and the threaded or other port that joins the machine. Record both interfaces in the same line item. Tube size means the actual outside diameter, not the bore or a trade name; a 6 mm tube and a 1/4 in tube are not interchangeable merely because their numbers look close.
Confirm the tube material, wall construction, tolerance and condition at the joint. PU and nylon tubing can have different flexibility and manufacturer limits, while a cut end that is ovalised, scratched or contaminated can defeat an otherwise compatible seal. State the medium as dry or lubricated compressed air, inert gas or another fluid, because chemical compatibility and seal selection depend on the complete service environment.
| Проверить | Evidence to record | Why it changes the selection |
|---|---|---|
| Ламповый интерфейс | Measured OD, wall information, material, tolerance and condition | Determines collet, seal and insertion compatibility |
| Port and thread | BSPP/G, BSPT/R, NPT or another stated form; male/female and size | Controls mating geometry and sealing method |
| Service medium | Air quality, gas or fluid, lubrication and contamination exposure | Constrains body and elastomer compatibility |
| Окружающая среда | Ambient and process temperature, moisture, chemicals, vibration and access | Sets material, seal, routing and maintenance requirements |
| Documentation | Drawing, installation instructions, pressure basis and replacement rules | Provides a traceable acceptance and service decision |
How can engineers distinguish BSP, BSPT and NPT threads?
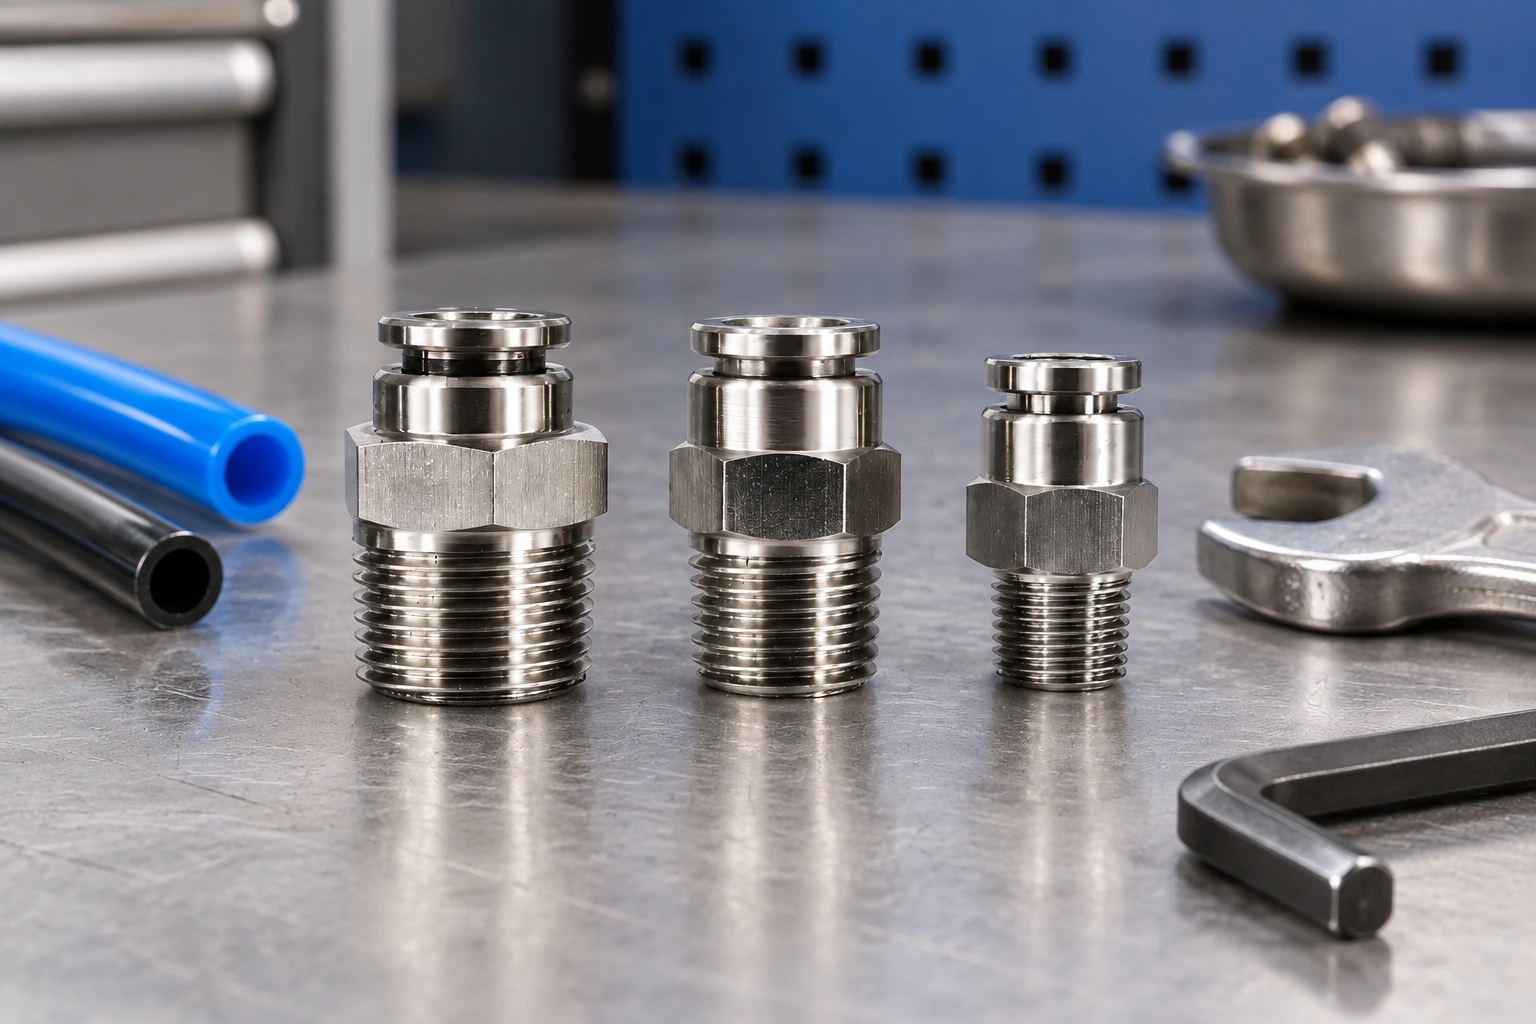
Thread identification must come from the port drawing, a verified gauge or the equipment manufacturer’s callout. BSPP (often marked G) is parallel and normally relies on a face seal, bonded washer or another defined sealing arrangement. BSPT (often marked R) is tapered; NPT is a separate tapered pipe-thread system with different geometry. The nominal size alone is not enough, and forcing a near match can damage the port or create a leak path.
Do not treat thread sealant as a conversion method. Use the seal specified for the port and leave the first thread clear when the installation instruction requires it. Record whether the fitting is a male stud, female port, swivel or elbow, because wrench clearance and orientation can affect tube loading. A solenoid valve types guide can clarify common pneumatic port terminology, but the valve maker’s current drawing remains the controlling source for a replacement.
| Thread callout | Basic interface characteristic | What the buyer must verify |
|---|---|---|
| BSPP / G | Parallel pipe thread with a defined face or bonded seal arrangement | Port standard, washer or O-ring, seating face and tightening instruction |
| BSPT / R | Tapered BSP thread used with the specified sealing practice | Male/female designation, sealant rule, engagement and available depth |
| NPT | Tapered US pipe-thread system with its own profile and gauge basis | NPT size, mating port, sealant compatibility and gauge or drawing evidence |
| Unconfirmed label | Catalogue wording or “inch” size without a thread system | Pause the order; obtain a drawing or written identification before substitution |
When is a plastic pneumatic fitting suitable, and when should metal be considered?
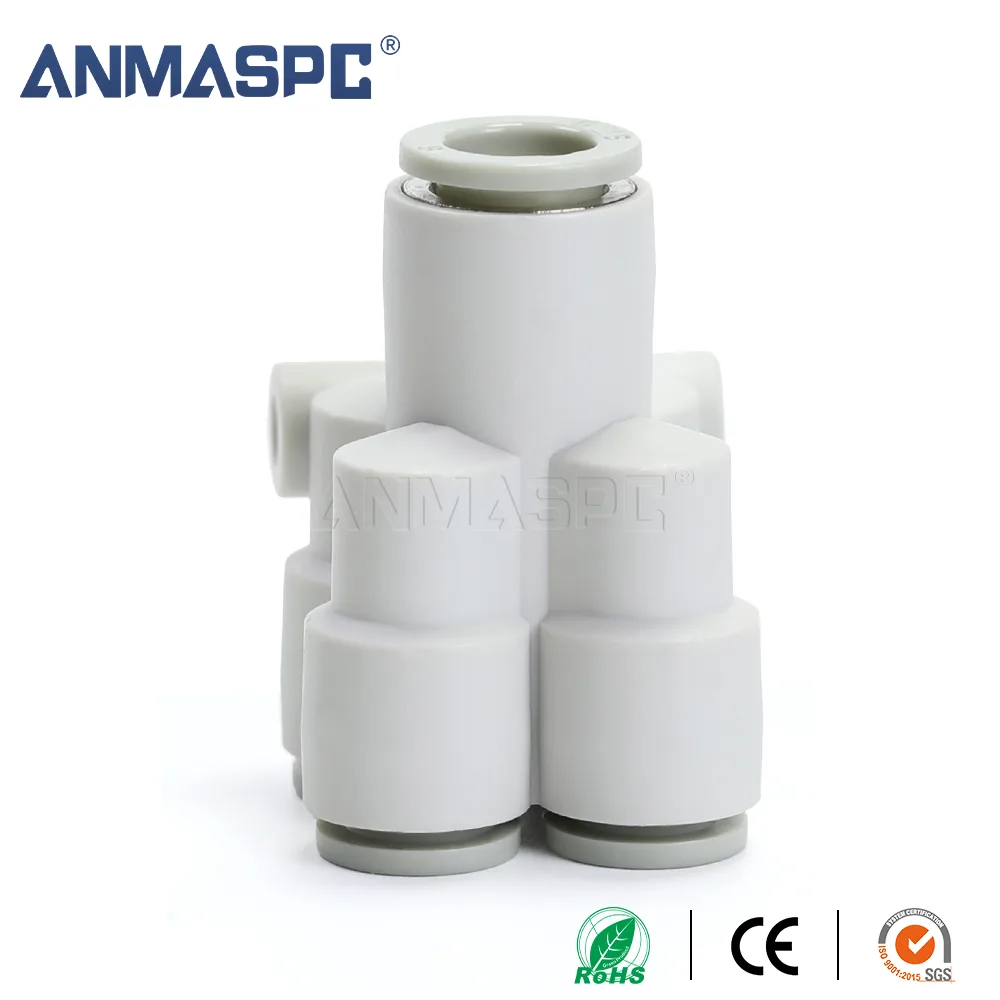
A plastic pneumatic fitting can be appropriate where the documented body, seal and tube combination meets the circuit’s pressure, temperature, chemical and mechanical requirements. Plastic may also simplify a lightweight assembly, but those are selection considerations rather than universal advantages. A metal fitting may be considered where the equipment specification requires greater resistance to impact, heat, vibration or repeated service; the exact grade and finish still need to be documented.
Compare the fitting’s declared working limits with the highest pressure and temperature that the complete circuit can experience, including start-up, shutdown, pulsing and cleaning. Do not copy a pressure value from a different size, seal or tube. If the supplier gives separate values for air, water or other media, use the value that matches the actual duty. For a broader system view, the pneumatic fittings maintenance guide can help turn the component choice into an inspection routine.
How should the tube be cut and seated to prevent leaks?
Isolate stored pneumatic energy before working on the line. Cut the tube square with a tool that does not crush the wall, then remove chips and inspect the end for a clean, round surface. Push the tube straight through the collet until it reaches the documented insertion position; a partial insertion, angled entry or damaged surface can leave the seal unsupported. Apply a light pull check only as permitted by the fitting instructions, and never use a side load to “test” a connection that has not been fully seated.
Route the tube with the bend radius and support specified for the tubing. Keep the fitting from carrying a lever load, protect it from abrasion, and allow enough clearance to press the release collar during service. After assembly, inspect each joint and run the project’s approved leak or pressure check. A visual check can find a skewed tube, but it cannot by itself prove leak-tightness.
Which service and maintenance records should a buyer retain?
Record the part reference, tube specification, thread callout, seal material, installation date, circuit location and any acceptance check. A pneumatic air fittings register lets maintenance teams replace a part with the same interface instead of guessing from a photograph. It also makes recurring leaks easier to classify: wrong OD, damaged tube, thread mismatch, insufficient support, contamination or a component outside its documented service range.
ISO 4414:2010 calls for safe design and operation of pneumatic systems, including attention to stored energy and component interfaces. ISO 12100:2010 provides a machinery risk-assessment and risk-reduction framework; it does not certify a particular pneumatic air fittings model. The U.S. Department of Energy’s compressed-air resources likewise treat leakage and pressure management as system issues. Use these sources to frame the design review, then verify the exact supplier documentation and site test method.
What is a practical selection checklist for procurement teams?
- Measure the installed tube OD and record material, wall information and condition at the connection.
- Identify the port thread from a drawing or gauge; state BSPP/G, BSPT/R, NPT or the applicable standard.
- Write down medium, pressure, temperature, cycling, vibration, chemicals and the required safe isolation state.
- Choose a plastic pneumatic fitting or metal alternative only after comparing the complete assembly’s documented limits.
- Approve the cutting, insertion, support and leak-check method before installation, and retain the result by circuit location.
Oulu / ANMASPC supplies B2B pneumatic fittings, tubing, valves and related parts. Buyers can review the Спектр пневматических деталей as a starting point, then request the drawing, material information and applicable limits for the exact configuration. Product availability and any certification or conformity statement should be confirmed in current supplier documents, not inferred from a product image.
Frequently asked questions about pneumatic push-in fittings
How do you match tube outside diameter to the Pneumatic Push In Air Fittings?
Measure the tube’s actual outside diameter with the approved method and compare it with the fitting drawing, tube material and tolerance range. Check the cut for ovality, scratches or contamination before insertion. A nominal label alone does not prove that the collet and seal will retain the tube.
How can you tell whether a Pneumatic Push In Air Fittings uses BSP, BSPT or NPT threads?
Use the equipment or fitting drawing, a verified thread gauge or written manufacturer identification. BSPP/G is parallel, BSPT/R is tapered, and NPT is a separate tapered system; do not force one into another. Confirm the seal, engagement and tightening method for the selected port.
Why does the Pneumatic Push In Air Fittings leak even after the fitting has been tightened?
Tightening the port cannot correct an undersized or damaged tube, incomplete insertion, a scratched sealing surface, a wrong thread form or an unsuitable seal. Depressurize the circuit, inspect the tube end and port, and replace components that fall outside the documented condition. Finish with the approved leak or pressure check.
What working pressure and temperature should the Pneumatic Push In Air Fittings support?
The fitting and tube should support the highest documented pressure and temperature of the complete circuit, including pulses and start-up conditions. Use the supplier’s value for the exact size, seal, medium and assembly; do not transfer a rating from another configuration. Record the basis and any installation or derating limits.
How do you install the Pneumatic Push In Air Fittings without cutting or scratching the tube?
Isolate energy, cut the tube square with a suitable tool, remove debris and keep the end straight during insertion. Push it fully to the stated seating position without twisting, then route and support it so the fitting is not side-loaded. Inspect the joint and perform the specified acceptance check before returning the line to service.
Can the Pneumatic Push In Air Fittings be disconnected and reused in a maintenance job?
Reuse is permitted only when the manufacturer’s instructions and the project method allow it. Inspect the collet, seal, body and tube end for wear, contamination, deformation or loss of retention, and replace any item outside the documented condition. A fitting removed from a hot, vibrating or chemically exposed circuit deserves additional scrutiny.
Ссылки
- ISO 4414:2010, Pneumatic fluid power — General rules and safety requirements for systems and their components.
- ISO 12100:2010, Safety of machinery — General principles for design.
- U.S. Department of Energy, Industrial Technologies Office compressed-air systems resources.
Заключение
A reliable push-in connection starts with identification, not tightening force: measure the tube OD, confirm the tube material, identify BSPP, BSPT or NPT, and document the actual pressure and temperature duty. Then select the fitting body and seal for that complete assembly, cut and seat the tube correctly, support the routing and run the approved acceptance check. Do not use sealant or a similar-looking connector to compensate for an unknown thread or damaged tube. Keep the part reference and inspection result with the circuit so future maintenance is based on evidence. Oulu / ANMASPC can help buyers compare pneumatic fittings, tubing and valves against those requirements; review the products directory and request current configuration documents before ordering.