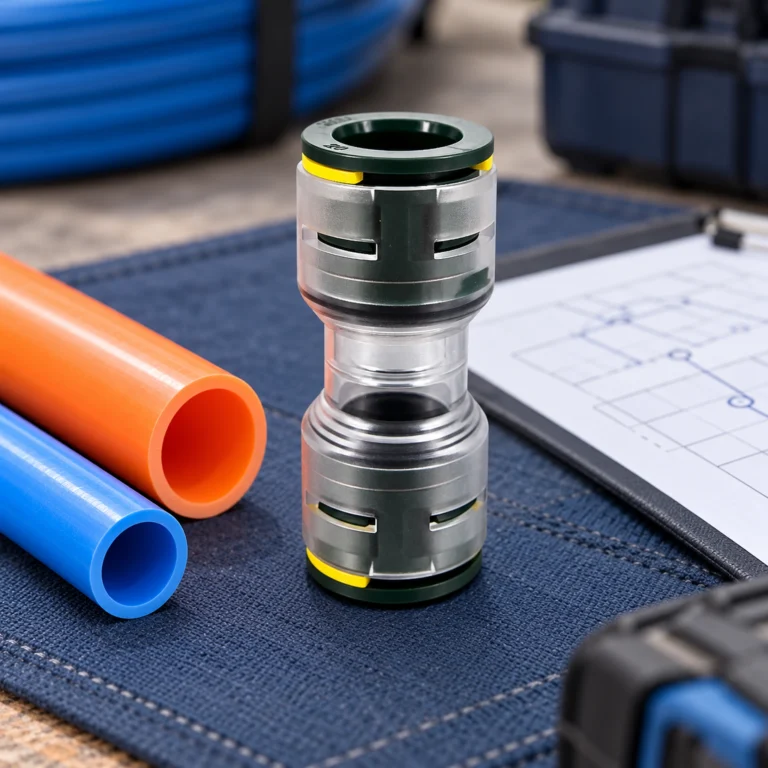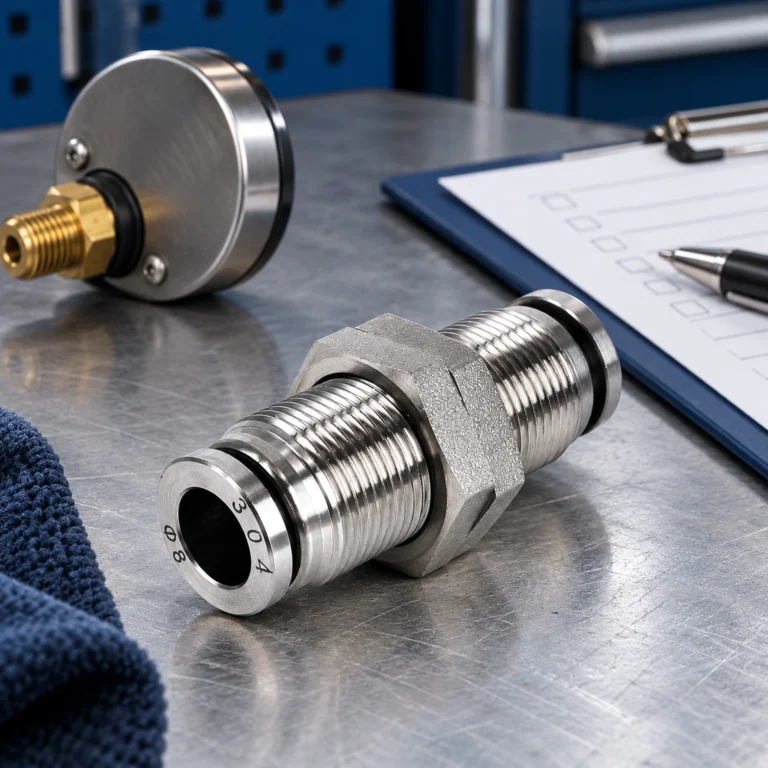
In a hypothetical commissioning job in Leeds, an assembly technician connects a new pneumatic valve using a metal push-in fitting. The tube seems secure during a quick hand check, but slips when the machine cycles. The cause is not necessarily a weak metal body. A mixed tube size, incomplete insertion or a route that pulls on the connection can produce the same visible failure.
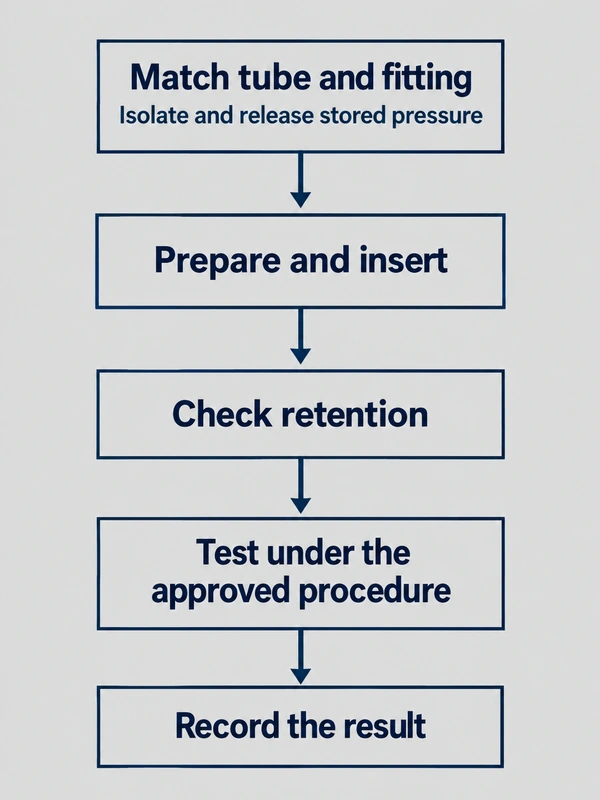
Install metal push-in fittings by matching the complete interface, preparing the tube, following the specified insertion method and checking the finished assembly under controlled conditions. Metal construction does not compensate for a damaged tube surface or an unsuitable seal. A connection is ready for service only after retention, leakage and routing have all been checked.
Match the fitting to the tube and port before assembly
Read the tube marking and fitting code before cutting anything. Record tube outside diameter, units, material and approved tolerance. The outside diameter determines how a push-in fitting grips and seals; the inside diameter affects the flow passage. A tube with the correct bore but the wrong outside diameter is not a substitute. Keep metric and inch stock clearly separated during assembly.
Identify the port independently. A male connector may combine a push-in socket at one end with a threaded connection at the other, and those ends use different naming conventions. Parallel and tapered threads require their own matching and sealing arrangements. Being able to start a thread by hand is useful for detecting gross damage, but it does not prove the thread family is correct.
SMC’s KQ2 and KQG2 catalogues illustrate why approved tubing, dimensional tables and thread variants belong to the individual series. Their installation values must not be copied onto an unidentified fitting. If the machine drawing and supplied part disagree, resolve the discrepancy before installation. For a wider sequence covering preparation and routing, consult the pneumatic pipe connector installation guide.
| Interface | Confirm | Reject or investigate |
|---|---|---|
| Tube | OD, units, approved polymer and condition | Unknown stock, oval section or surface scoring |
| Socket | Correct fitting code and clean entry | Damaged collar or contamination |
| Тема | Port standard, size and seal arrangement | Binding, cross-threading or missing seal |
| Кызмат | Pressure, temperature and medium | Limits inferred only from body material |
Cut and inspect the tube before pushing it in
Isolate the equipment, discharge stored pressure and verify the work area is safe before removing or assembling a connection. Include any trapped branches and mechanical movement that stored pneumatic energy can produce. A closed supply valve alone does not establish that every section is depressurized. Apply the machine’s energy-control procedure rather than using the release collar as a way to vent the line.
Use a tube cutter suitable for the selected material and diameter. A square tube cut provides a consistent end for insertion, while a crushed or angled end can interfere with seating. Check roundness and the outside wall where the seal will contact it. Remove loose debris without introducing fibres, oil or cleaning chemicals that the assembly is not approved to receive.
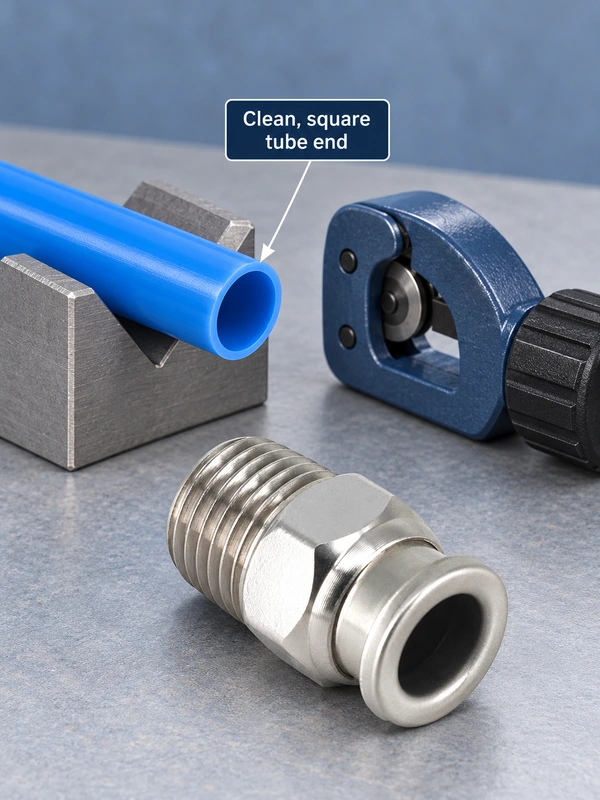
Previously used tube deserves particular attention. A gripping ring may leave marks, and a tube exposed to heat or long service may change shape. SMC’s KQG2 handling precautions discuss removal difficulties with tubing that has expanded in service. Reconnecting the same damaged section is not a reliable repair. Cut back to sound material only if the remaining route still has adequate length and support.
Do not improvise a preparation process based on another connection type. Ferrule fittings, barbed hose connections and push-in tube fittings have different requirements. Chamfering, lubricating or fitting a support sleeve may be appropriate for a specified product, but should not be applied universally. Where the instructions require a sleeve or a particular insertion depth, use the exact compatible part and dimension.
Insert the tube fully without loading the release collar
Keep the tube aligned with the socket and hold it close enough to the end to control insertion. Soft polyurethane can buckle when pushed from too far away. The KQG2 catalogue explicitly notes this risk for its grease-free construction and directs users to insert slowly and securely. The lesson is to follow the actual series instructions, not to assume every metal connector has the same insertion resistance.
Use the manufacturer’s approved indication of full insertion. Where a depth mark is prescribed, measure it from the correct drawing and keep marking material compatible with the tube. Do not invent a universal insertion length from the socket’s visible depth. A tube may feel restrained before it has reached the intended sealing position, so an early grip is not proof of completed assembly.
Fit the threaded end using the correct wrench location and specified sealing method. Avoid transmitting torque through the release collar, tube or a movable elbow body. Excessive tightening can damage the fitting or port; insufficient engagement can leave a leak. Factory coating, liquid sealant and face seals have different instructions, including any curing or reuse limitations.
Support the route through the full machine movement
Tube retention depends on more than the initial pull check. A short tube can place continuous tension on the socket, while a tight bend close to the fitting adds side load. Provide enough straight entry and supported routing for the exact product instructions. Check the tube manufacturer’s minimum bend radius rather than using a generic multiple of diameter for every polymer and wall thickness.
Observe clearance through the complete machine travel before returning the equipment to production. Tubing that clears a guard at rest can rub against it during motion. Keep release collars clear of objects that could press them accidentally, and avoid cable ties tightened enough to distort the tube. Movement should occur in a suitable length of tubing, not by forcing an ordinary fitting to function as a rotary joint.
Material choice changes the tradeoffs but does not remove these requirements. Plastic, brass and stainless bodies differ in their intended environments and construction. A stainless exterior does not establish food suitability or resistance to every cleaner; a metal socket does not approve every rigid metal tube. Confirm the accepted tube material instead of interpreting the phrase metal tube connector literally.
| Көзөмөл | Likely checks | Required follow-up |
|---|---|---|
| Tube stops early | Cut, alignment, size and obstruction | Resolve the cause before force is increased |
| Leak at entry | Outside surface and complete seating | Repeat the approved leak check after repair |
| Tube moves during cycling | Retention, route tension and vibration | Inspect during the full movement range |
| Thread binds | Standard, damage and sealing method | Inspect both mating parts |
| Repeated failure after reuse | Tube damage, collar and seal condition | Replace parts that no longer meet instructions |
Prove retention and leak performance after assembly
Perform the prescribed retention check, then restore pressure in a controlled manner with people clear of potential tube movement. Use the site’s approved leakage test and observe the relevant operating conditions. DOE’s compressed-air guidance recommends tracking and verifying repairs; the same discipline is useful during commissioning. Record the fitting code, tube specification, method, conditions and outcome instead of simply writing tested on a checklist.
Separate a routine installation check from product qualification. A brief manual pull does not establish a certified pull-out load, and a successful bubble check at one condition does not prove lifetime performance. If the project requires a documented test standard, obtain the applicable procedure and acceptance criteria. Do not describe ordinary installation as certification or publish an unmeasured zero-leak claim.
Plan future access while the equipment is still easy to reach. The one-touch fitting reuse guide helps decide what to inspect during disassembly. For a new build, compare the required port and tubing with the stainless male straight connector documentation, then retain the approved variant information with the machine’s spare-parts list.
Көп берилүүчү суроолор
How do you install metal fittings without scratching the tube?
Prepare a clean, square end with an appropriate cutter and inspect the outside sealing surface. Insert the tube straight using the specified method, without gripping it with tools that score the wall. Replace or cut back damaged tube only where adequate routing length remains.
Can metal push-in fittings be reused during maintenance?
Reuse depends on the manufacturer’s instructions and the condition of the collar, gripping parts, seal and body. Inspect the previously inserted tube as well. A fitting that repeatedly leaks or fails retention checks should not be kept in service just because its metal exterior looks sound.
Which sealing method should the threaded side use?
Use the method specified for the thread and port: an approved thread sealant, pre-applied coating or the correct face seal as applicable. These methods are not interchangeable. Follow the product’s tightening and curing instructions rather than adding tape to every connection.
How do you measure a fitting before ordering a replacement?
Record the tube outside diameter and units, then identify the threaded port separately by standard and nominal size. Include shape, mounting clearance and service conditions. A product code or dimensioned drawing is more reliable than matching a photograph alone.
Why can a tube release when the machine vibrates?
Possible causes include incorrect tube size, incomplete insertion, damaged gripping parts and cyclic side load. Inspect the entire route and check that nothing presses the release collar. Correct the cause before testing again; more thread torque cannot fix a tube-retention problem.
Is plastic, brass or stainless steel the best fitting material?
The best choice depends on pressure, temperature, medium, external exposure and maintenance needs. Compare the complete assembly, including seals and approved tube materials. Stainless is not universally superior, and body material alone cannot establish cleanliness or chemical suitability.
Деректер
- SMC: KQ2 one-touch fittings
- SMC: KQG2 tubing installation and fitting precautions
- U.S. DOE: Compressed-air leak identification and verification
Summary
A push-in connection holds reliably when the tube, socket and port are correctly matched, the tube is fully seated and the installed route avoids damaging loads. Record the assembly checks so maintenance can reproduce them later. For Oulu metal fitting enquiries, send the tube specification, port drawing and working conditions before ordering; a documented match is more useful than choosing by metal appearance alone.