A microduct end cap that comes loose creates two questions for the maintenance team: has the fitting lost its grip, or has the duct stopped sealing? Those faults can occur together, but treating them as the same problem encourages repeated reseating without finding the cause. A cap can grip a tube before the tube reaches its sealing position; conversely, visible water around a cap does not establish where water entered the pathway. Before ordering replacements or mobilizing a cable-blowing crew, identify the cap model, measure the duct and examine the assembly state. The following checks separate sizing, preparation, insertion and retention faults, then show when field correction should stop and supplier review should begin.
The short answer is to isolate and depressurize the section, confirm the exact cap-to-duct match, and inspect the cut, insertion, seal and required retaining components. A vacant duct needs a closure; a duct containing cable needs a compatible seal around the cable. A removable end cap protects the vacant duct until blowing preparation, then comes off before cable is blown through that opening. EN 50411-2-8:2009 includes closing open ducts within its connector scope, but its catalogue does not establish a pressure rating for an individual cap. Use the model instructions and route acceptance procedure rather than a universal pressure or repair rule.
Why can a microduct end cap grip the duct but still leak?

Mechanical retention and sealing are separate checks: holding the duct in position is not proof that the duct sealing interface seals under the approved conditions. An installed clip does not prove a complete seal.
FCST’s microduct connector installation instruction, published August 2025, specifically notes that a tube can be gripped without being fully seated, causing leakage. It calls for clean dimensions, a round undamaged tube, a square cut and burr removal. This is a useful external-maker example, not an installation specification for every end cap.
| Uočeni simptom | Possible cause to investigate | Next action after depressurization |
|---|---|---|
| Cap moves or disengages | Incorrect duct OD, incomplete engagement or missing required retainer | Compare measured OD with the exact drawing; check insertion and the specified retention parts |
| Cap appears secure but the test indicates leakage | Incomplete seating, contamination or damage at the sealing interface | Isolate the interface, inspect preparation and verify the model’s seating indication |
| Duct end is visibly oval or damaged | Unsuitable sealing and gripping surface | Assess whether sound duct can be prepared within the project and maker instructions; do not prescribe a fixed cutback |
| Water surrounds the cap | Ingress elsewhere in the pathway or a local interface fault | Investigate the pathway and isolate interfaces before assigning the source to the cap |
| Movement returns after correction | Unresolved geometry, assembly, handling or component fault | Stop repeated reseating; retain the part and send dimensional and installation records for review |
These are investigation routes, not confirmed causes. Improvised clamps cannot resolve an out-of-range duct or damaged assembly.
What should be checked before an end cap is reseated?
Identify the cap and duct rather than relying on nominal size. Check OD against the cap drawing, measuring in more than one direction for ovality. Duct ID and wall dimensions are separate compatibility information. Use the supplier’s tolerances, not another brand’s limits.
Next examine the cut and contact surfaces. A square, burr-free, undamaged end is the starting point illustrated in the FCST instructions. If damage requires trimming, determine the extent from the condition of the tube and applicable procedure, not a universal 30-50 mm allowance. Clean using the approved method; do not assume that flushing the complete route or applying lubricant is suitable for every cap. If the duct is later occupied by cable, compare the final sealing requirement with the spojnik gasnog bloka rather than reusing an empty-duct cap by assumption.
Verify seating using the model’s specified insertion indication, and fit its required retaining parts. Locking clips versus gas-block sealing explains why preventing release does not correct a faulty seal. Similar-looking seals and clips from mixed suppliers are not automatically interchangeable.
When should troubleshooting stop and move to supplier review?
Stop and escalate if the model or rating cannot be established, measured geometry falls outside the documented range, the body or sealing surface is damaged, or movement or leakage returns after an approved correction. Keep a suspect assembly out of pressure service until the responsible party determines a suitable remedy. Do not increase test pressure to force an uncertain diagnosis.
Separate grip and leakage observations in the repair record. This is practical traceability advice, not a mandated form.
| Record category | Information worth retaining | Decision it supports |
|---|---|---|
| Retention | Model, lot/code, measured duct geometry, insertion indication, retainer identity and photographs of movement | Whether the assembly matches its drawing and release-prevention requirements |
| Zaptivanje | Isolated interface, seal condition, medium, approved test procedure, instrument and result | Whether leakage is local and the required sealing condition was evaluated |
| Correction and retest | Preparation performed, approved parts used, assembly state and subsequent observations | Whether correction resolved the original fault or further review is needed |
Preserve the failed cap and duct evidence. Repeated failures across a lot warrant review, but do not establish a manufacturing defect.
How should a temporary cap be removed before cable blowing?
Model-specific removal instructions govern the release method. Isolate the section and confirm depressurization before disassembly. FCST describes removing the clip, pushing the collet and pulling the duct for its covered connector design; apply that sequence to an end cap only when its manufacturer specifies it. A different closure may use a different release arrangement.
Inspect the duct after removal and prepare it under the cable-installation plan. A removable cap protects the waiting duct, not the opening during blowing. If cable occupies the duct, consult end-stop versus gas-block closure selection rather than adapting an empty-duct cap.
What evidence is needed for pressure and outdoor service?
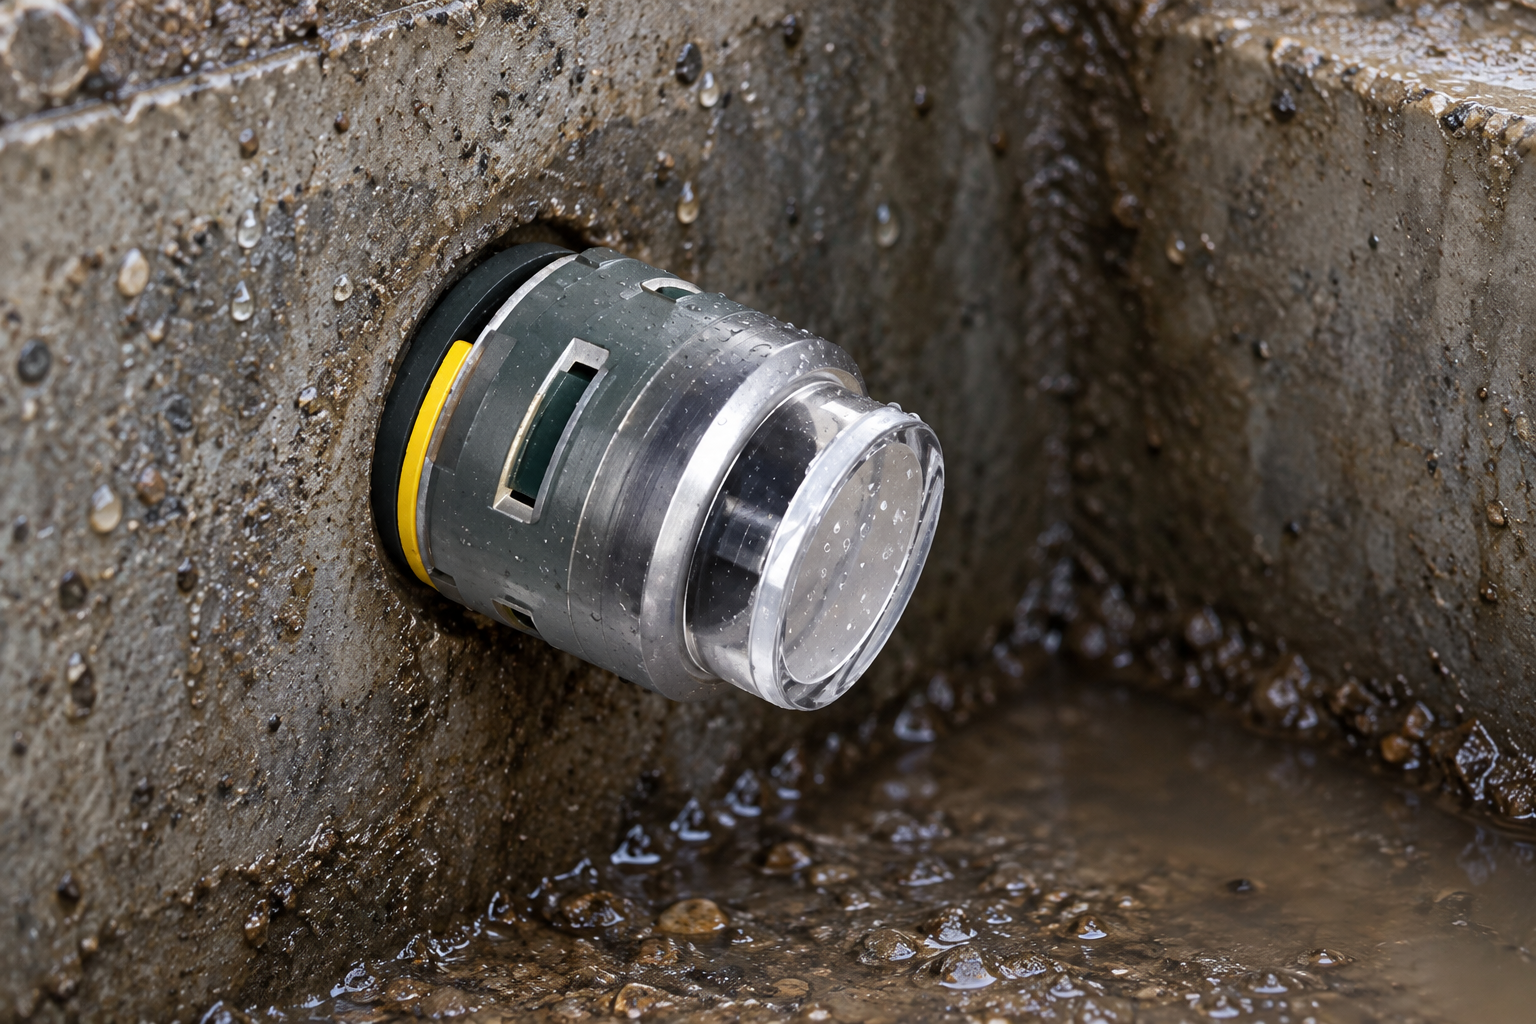
Request the exact model’s installation instructions, service limits and relevant test evidence. The official EN 50411-2-8:2009 catalogue describes initial dimensional, mechanical, optical and environmental requirements for installed blown-fibre microduct connectors in protected installations. It excludes connectors intended for direct sunlight. Citing its name therefore does not prove that a particular cap is UV-qualified or suitable for direct burial.
IEC TR 63431:2025, Microduct technology guidance, covers repairs, environmental expectations and installation guidance, not universal component ratings. Obtain documented temperature and exposure limits; assess burial protection separately. Distinguish component ratings from the route owner’s medium, pressure, duration and acceptance criteria.
What else should maintenance teams ask about loose end caps?
How tightly should the microduct end cap be fitted to stop dust and water?
Fit the documented duct size and achieve the model’s specified seating condition. Extra force or an improvised clamp is not evidence of sealing. A microduct locking clip, where required, addresses retention rather than replacing the seal.
Can the microduct end cap remain installed while cable is blown later?
It can protect a vacant duct until blowing preparation if approved for that use. Remove it before blowing cable through that opening; follow the release instructions after depressurization.
What pressure test confirms that the microduct end cap is sealing correctly?
Use the model limits and project-approved procedure, recording the medium, instrument, test conditions and result. No single pressure or hold time applies to every cap, and an empty-duct test does not validate a seal around installed cable.
Is a locking clip needed with every microduct end cap?
Only the exact design instructions establish whether a clip is required and which one fits. A clip can prevent inadvertent release, but cannot correct wrong OD, a crack or a damaged seal.
How do you remove the microduct end cap without damaging the duct?
Isolate and depressurize, then use the maker’s release method. Do not assume every closure has a push-collet mechanism or needs the same tool. Inspect the duct before reassembly or blowing preparation.
What UV and temperature rating should an outdoor microduct end cap have?
Choose documented limits suitable for the intended exposure and exact body-and-seal combination. Direct sunlight, protected chamber use and burial are different conditions; a standard reference alone does not establish suitability.
Can a removed end cap be reused?
Reuse only when the exact manufacturer permits it and inspection and retesting support return to service. There is no universal reuse-cycle allowance or automatic replacement schedule.
What should be sent to the supplier when a cap repeatedly loosens?
Send the model, lot/code, measurements, photographs, test records and correction history. Separate retention from leakage observations and preserve failed components.
Which primary references support these checks?
- FCST, Installation Instruction For Microduct Connector, August 22, 2025: a maker-specific example of preparation, seating, clips and release.
- NEN, EN 50411-2-8:2009 catalogue: connector scope and protected-installation limitations.
- IEC, TR 63431:2025, published September 8, 2025: microduct repairs, environmental expectations and installation guidance.
How can the team decide whether to correct or replace the cap?
A loose cap needs a documented diagnosis, not simply more force or another identical fitting. Establish the model and duct geometry first, then decide whether the observed fault concerns retention, sealing or both. Correct preparation or assembly only within the applicable instructions and record the retest before returning the section to service. Repeated movement, uncertain compatibility or damaged components warrants supplier review rather than repeated trial fitting. Keep the closure in place during the approved waiting period, but remove it before blowing through that opening. Oulu / ANMASPC’s microduct end-cap product page is a starting point for selection; contact the supplier with the measured duct dimensions, intended environment and failure record to request the matching drawing and installation requirements.