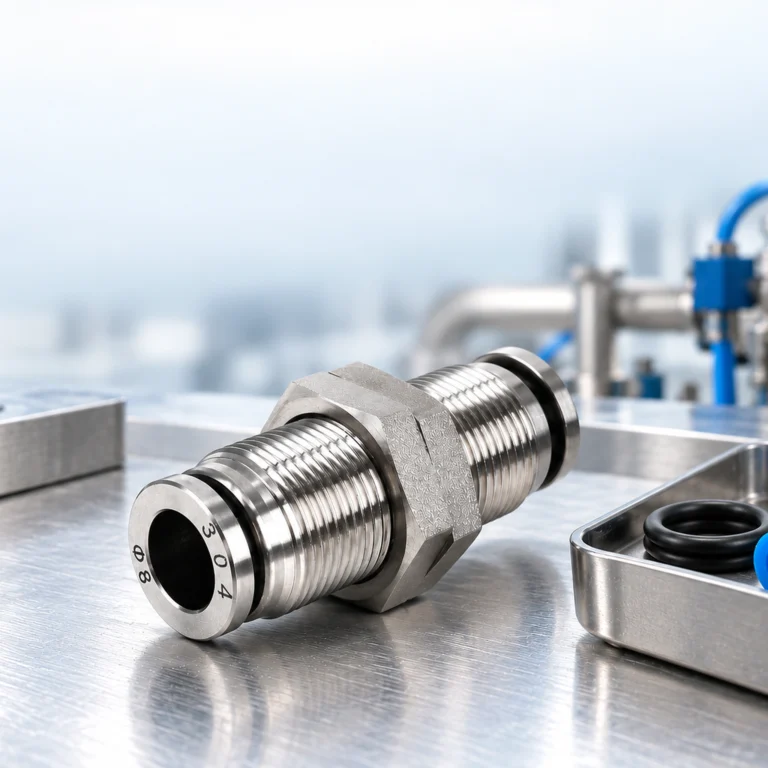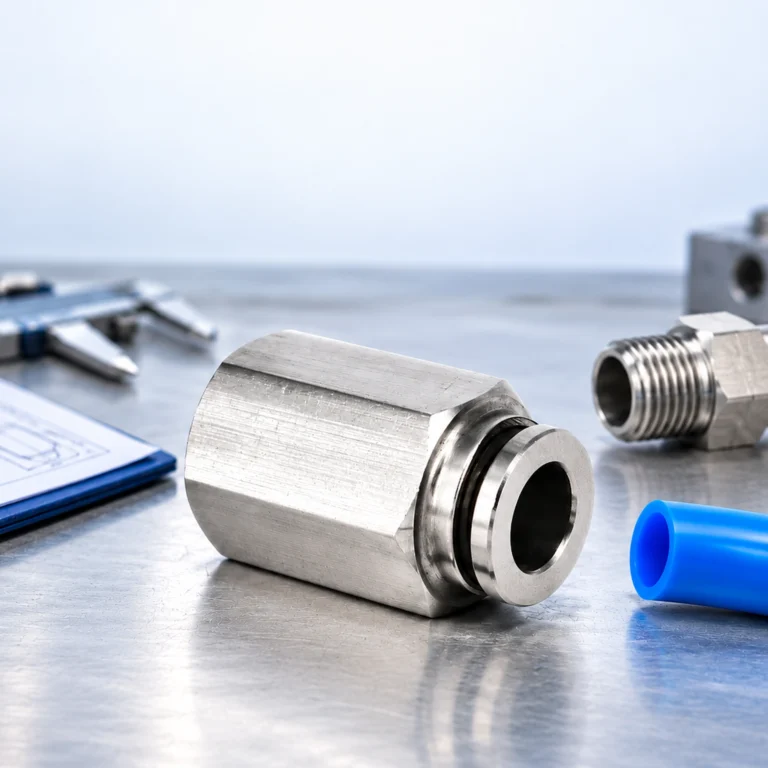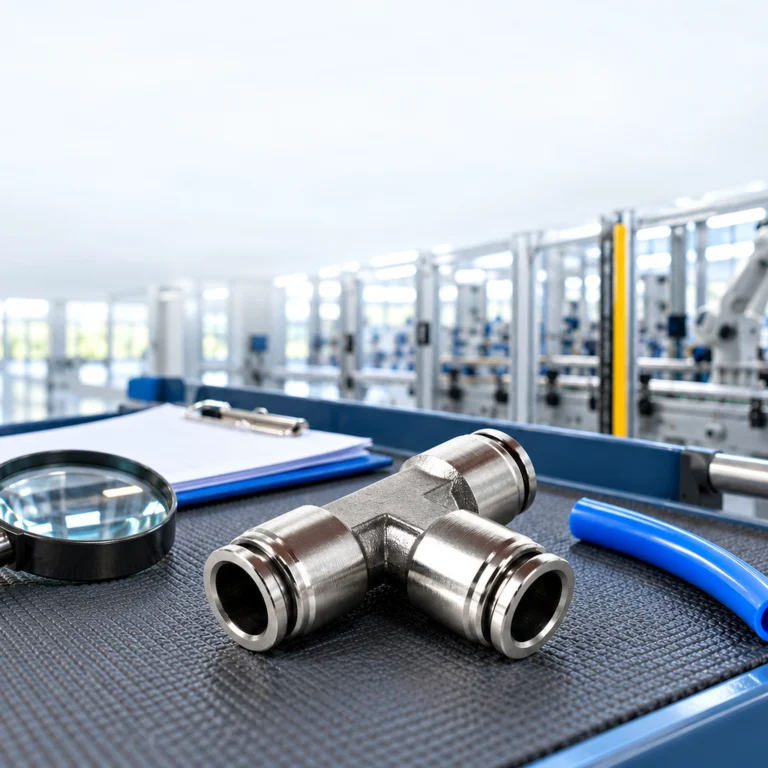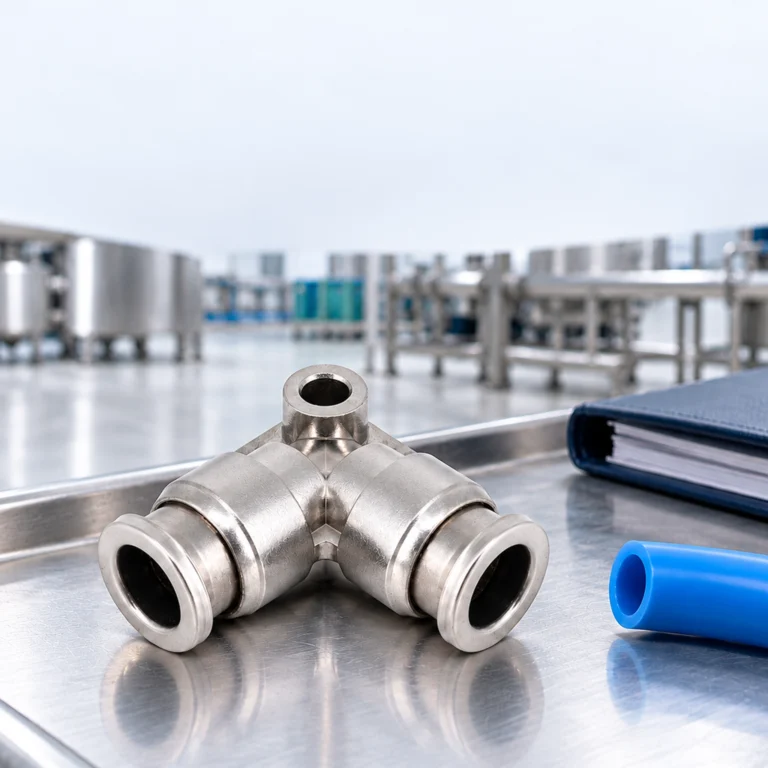
A stainless fitting that becomes difficult to turn during installation may be cross-threaded, contaminated or beginning to gall. Applying a longer wrench can turn a recoverable assembly problem into damaged threads and a connection that cannot be serviced. Another leak may come from the tube socket rather than the threaded joint, so extra tightening can miss the actual fault entirely. Reliable installation needs separate control of thread compatibility, the intended sealing method, tool placement and tube preparation. This guide explains those checks, identifies when to stop assembly and describes how to verify the connection without inventing a universal torque or treating stainless steel as immune to corrosion.
Install stainless steel pneumatic fittings only after confirming the exact tube interface, mating thread and operating conditions. Inspect clean, undamaged threads; start the approved mating pair by hand; use the specified sealant or face seal; and tighten at the designated wrench flats to the selected manufacturer’s instruction. Stop if resistance is abnormal. Preventing galling requires control of friction and contact conditions, not simply more force. Prepare and fully insert the approved tubing separately, support it against side load, then perform a controlled leak and functional test after safe restoration of pressure.
Why can stainless steel threads gall during assembly?
Thread galling is adhesive damage that can develop when contacting metal surfaces slide under load. ASSDA’s Technical FAQ 5 explains how rubbing can disrupt the protective oxide film and allow local metal contact and cold welding. Dirt, burrs, poor fit and excessive contact stress complicate the assembly. Galling is different from a leak caused by choosing the wrong sealing arrangement.
ASSDA’s document discusses stainless fasteners generally. Its bolt torque tables are not pneumatic-fitting installation values. Transfer the underlying lessons about clean mating surfaces, appropriate lubrication and controlled force, but obtain torque or turns guidance for the actual fitting, port and surface condition. A sealant can change friction, so an instruction intended for a dry assembly cannot automatically be applied to a lubricated one.
Using one 304 part and one 316 part is not a guaranteed remedy. ASSDA specifically notes that their hardness difference may be insufficient to prevent galling. Do not substitute materials or add a workshop anti-seize compound without checking the pressure-boundary design, medium and cleanliness requirements.
What must be checked before the first thread engages?
Identify the full male and female thread designations, including standard, size, pitch and taper. Separate the port specification from the tube OD. Check whether sealing occurs at tapered threads, a washer, an O-ring, a gasket or a defined seat. “Stainless 1/4 inch” does not provide enough information to purchase or assemble a connection.
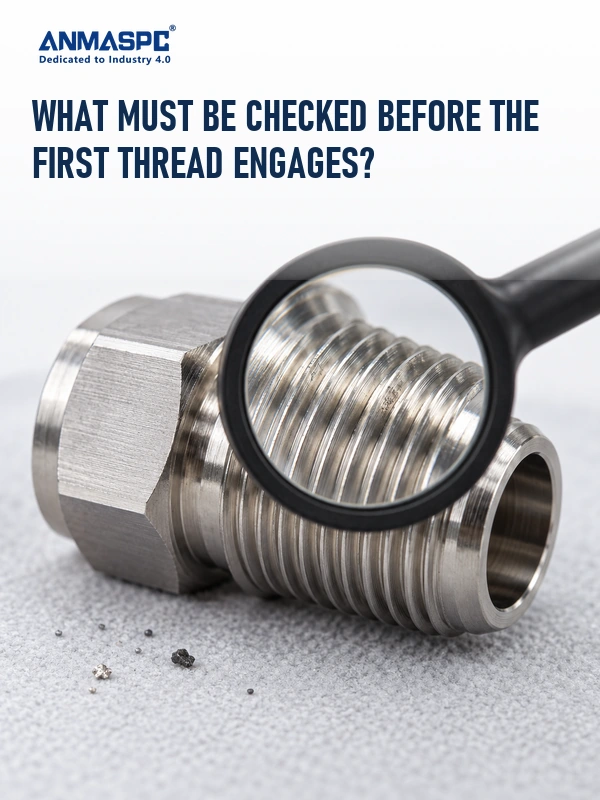
Inspect for damaged starts, burrs, contamination and evidence of earlier seizure. Protect open tube and port ends from debris during preparation. Start the correctly aligned pair by hand where the manufacturer’s design permits. If it binds unexpectedly, stop, remove it under a safe procedure and identify the reason. Do not use tightening force as a thread gauge. The site’s thread matching guide helps separate interface identification from seal selection.
| Pre-installation item | Evidence required | Reason to stop |
|---|---|---|
| Thread pair | Matching standard and approved mating designations | Uncertain profile, crossed start or damaged thread |
| Seal arrangement | Drawing and approved sealing instruction | Missing seat, incompatible sealant or damaged face |
| Tool access | Identified wrench flats and clearance | Tool would load a release ring or swivel body |
| Tüp arayüzü | Approved OD, tolerance, material and insertion depth | Scored, oval or unsuitable tubing |
Which sealant and tightening method should be used?
Follow the exact connector and port instructions. A pre-sealed fitting may have limits on adjustment and reuse. A face-sealed parallel thread may need a specified gasket rather than tape on the thread. A tapered joint may use an approved coating or compound applied so fragments cannot enter the pneumatic passage. Excess material can contaminate downstream valves and instruments.
Controlled tightening means using the instruction for the named combination of thread, material and surface condition. For example, the SMC KQG2 catalogue gives different tightening ranges for different NPT/R sizes in that series. That demonstrates why one workshop number is inadequate. Those values must not be used as Oulu specifications or applied to an unrelated thread. If the supplier has not provided an installation limit, obtain it before standardizing assembly.
Apply the tool to the intended hexagon and support the mating component as instructed. Do not grip the release button, distort the cylindrical body or transmit torque through an unsupported tube. SMC’s KQG2 precautions also distinguish a joint that may be positioned after connection from a rotary joint designed for continuous movement. Similar-looking elbows are not automatically swivels for dynamic service.
How should the tube be inserted without creating another leak?
Identify the tube OD and approved material, then cut a clean square end. Remove debris without scratching the sealing surface. Follow the connector’s insertion depth and retention-check method. A tube that passes the gripping feature but does not reach the required seat may feel secure while still leaking. A softened or enlarged used tube may no longer match the original interface.
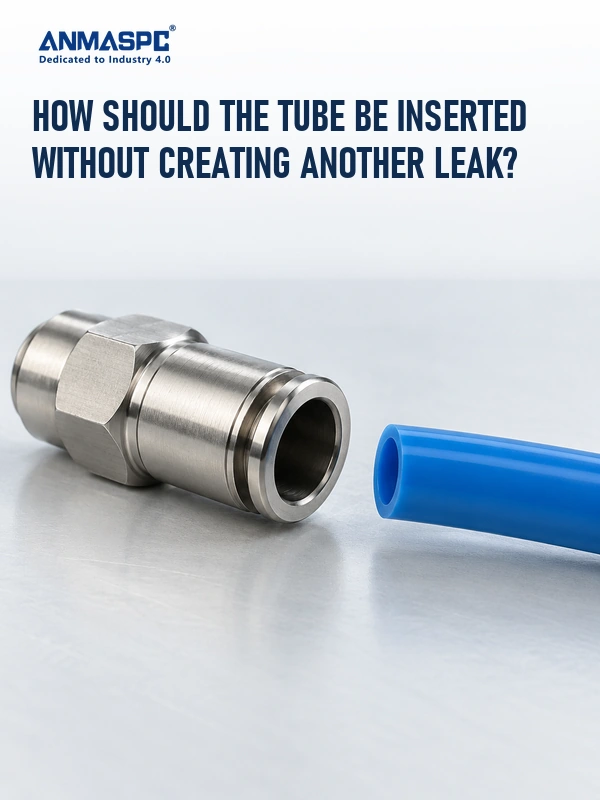
SMC’s KQG2 specific precautions warn that soft polyurethane can fold during insertion in its grease-free construction. They also advise replacing tubing whose OD has enlarged after high-temperature or extended use. These observations support inspection of the tube, but they do not justify lubricating a fitting against its instructions. The pneumatic connector installation guide gives related preparation and routing checks.
Provide a suitable straight approach and independent tube support. Do not use the connector as a structural anchor for hose weight or actuator motion. Check tool and tube-release clearance before closing the cabinet or panel. If a connection cannot be accessed for inspection, redesign the layout rather than relying on a difficult blind assembly.
Does choosing 316 make a fitting suitable for washdown or chemicals?
No body grade establishes the suitability of the complete assembly. Identify the external cleaner as well as the internal medium, concentration, temperature, dwell time and rinse conditions. Check seals, tube, retaining parts and thread treatment against the operating envelope. ASSDA’s general corrosion guidance explains why contaminants, crevices and chemical conditions change stainless performance.
Grade 316 may merit consideration where chloride exposure challenges 304, but it is not immune to pitting or every cleaning chemical. A visual surface finish cannot establish hygienic certification or food-contact approval. Specify the exact material and required documentation for the selected model. Do not claim a stainless pneumatic fitting is suitable for direct food contact merely because it will be installed near a washdown line.
| Assembly condition | Nelerin doğrulanması gerekiyor | Unsupported shortcut |
|---|---|---|
| Dry compressed air | Complete pressure-temperature range and tube approval | Body strength sets every component’s limit |
| Water or cleaning exposure | Body, seal and tube compatibility | 316 means universally corrosion-proof |
| Clean process area | Cleanliness and contact-zone restrictions | Metal appearance proves food suitability |
| Repeated service removal | Reuse limits, seal replacement and thread condition | More sealant restores every used joint |
What should the installation test and handover include?
Use the machine’s energy-control procedure before assembly or any remedial work. After the connection is complete and access is safe, restore pressure in a controlled way within the approved operating range. Use an application-compatible leak-detection method and inspect the relevant joints. Do not overtighten a pressurized joint in an attempt to stop bubbles.
Check representative temperature and motion conditions, not just a brief stationary test. A pressure-decay result may include other connected volumes and temperature effects; interpret it under an agreed procedure. If there is low flow without a local leak, investigate tubing ID, fitting passage and other restrictions. Repeating the leak test does not diagnose a flow bottleneck.
Record the component code, installation instruction revision, seal arrangement and accepted test condition. Oulu’s female-thread straight push-fit fitting illustrates why both ends need specification: the tube socket and mating male thread must be identified separately. Request the current drawing and operating limits for the quoted variant. Include the approved combination in the site’s pneumatic maintenance schedule so later repairs preserve the installation method.
Sıkça sorulan sorular
Why choose stainless steel pneumatic fittings instead of plated fittings?
Consider stainless when the documented exposure and maintenance requirements justify it. Compare the entire assembly, including seals and tubing, rather than assuming body material alone determines durability. Plating condition and cleaner compatibility also need evaluation.
How do you match tube OD and thread type to stainless steel pneumatic fittings?
Identify tube OD, units, material and tolerance separately from the equipment thread. Confirm the complete thread designation and seal location from the drawings. Similar outside dimensions do not establish an approved mating pair.
Which stainless grade is suitable for corrosive or washdown areas?
Select from the actual chemical, concentration, temperature and exposure pattern. Grade 316 is worth evaluating for some chloride conditions, but neither 304 nor 316 is universally suitable. Obtain confirmation for the complete fitting and its cleaning conditions.
How do you prevent galling when installing stainless steel pneumatic fittings?
Use clean undamaged matching threads, correct alignment, an approved sealing or lubrication method and controlled tightening at the designated flats. Stop if resistance is abnormal. Do not apply generic bolt torque values or unapproved anti-seize.
What pressure and temperature rating should the fitting have?
Its permitted range must cover the actual medium, local temperature and maximum pressure including transients, together with the tube and port. Use the exact model’s current data. Proof and burst pressures are not continuous operating limits.
Can stainless steel pneumatic fittings be used with compressed air, water and chemicals?
Only when the manufacturer approves the exact model and materials for those conditions. Evaluate body, seals, tubing and thread treatment together. A stainless body and a chemical-resistance chart do not establish complete product performance.
Kaynakça
- ASSDA: Technical FAQ 5, Galling and its Control — mechanism and friction/assembly controls; fastener torque tables are not fitting ratings.
- SMC: KQG2 catalogue and specific product precautions — series-specific tightening, tube insertion, mechanical-load and fluid limitations.
- ASSDA: Technical FAQ 8, General Corrosion Resistance — chemical and environmental limits.
Summary
Installing a stainless pneumatic fitting correctly means controlling two different interfaces. Match and inspect the threaded port, use its approved sealing method and tightening instruction, and stop when resistance suggests damage or galling. Prepare the approved tubing separately and remove side load before testing. Stainless steel can address a material requirement, but it cannot correct an incompatible seal, unsuitable tube or wrong port. Keep the selected model, assembly instruction and test conditions with the maintenance record so future replacements follow the same method. Oulu can review a fitting enquiry against the supplied tube and port details; the decision should remain tied to the exact component and operating conditions rather than a generic stainless description.