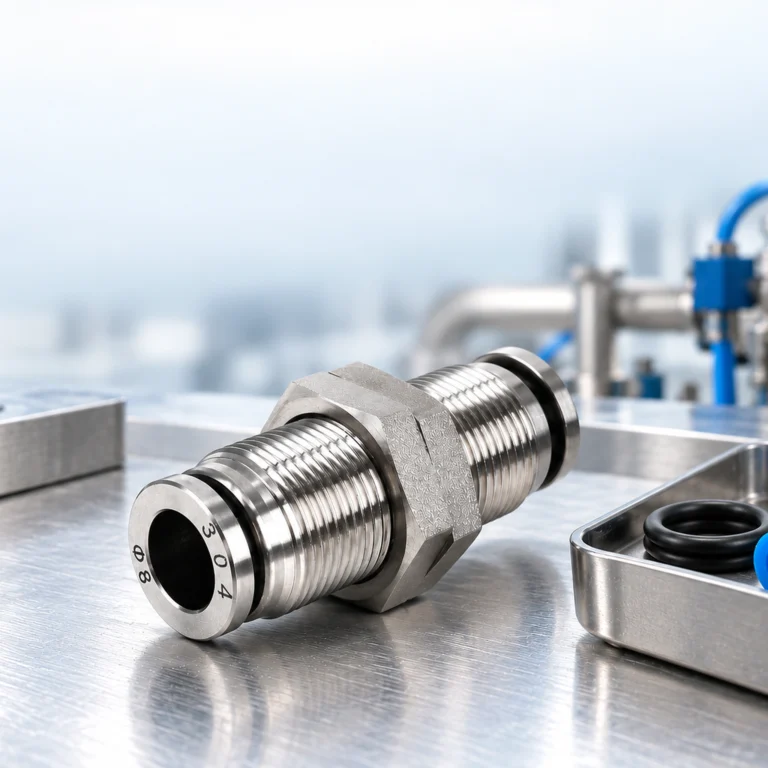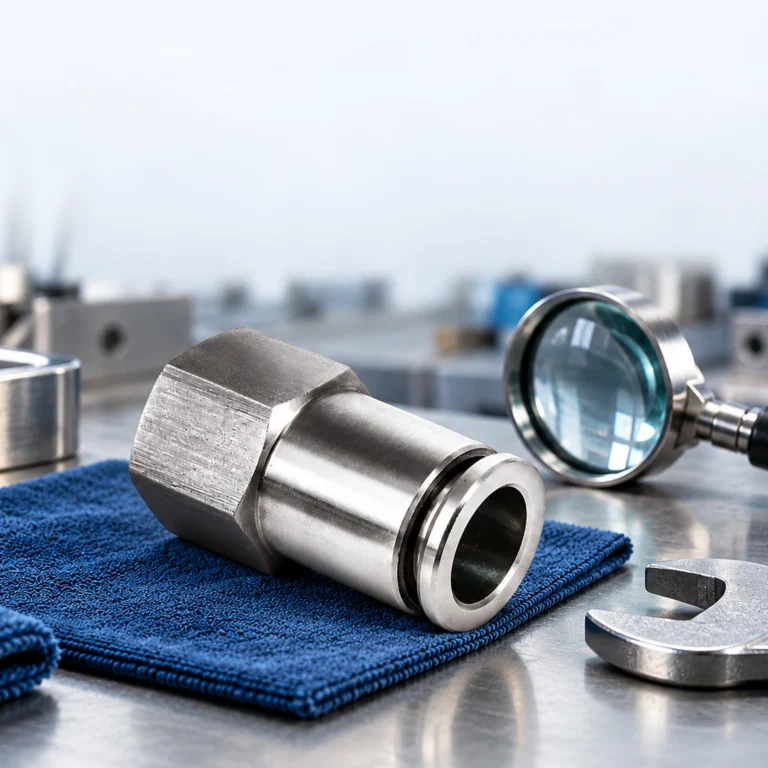
A buyer may be asked to choose a push-in fitting or a threaded fitting even though the proposed part contains both. One end accepts a tube and the other connects to an equipment port. Comparing those descriptions as complete alternatives can lead to ordering the wrong interface, overlooking a sealing element or assuming that a quick tube connection removes the need for controlled thread assembly. The useful question is how each side of the connection is built and serviced. This guide separates the interfaces, compares the work needed to install them and explains what evidence should decide between technically suitable assemblies.
A stainless steel pipe fitting should be selected by its actual connection geometry. Push-in commonly describes a tube-side grip-and-seal arrangement; threaded describes an engagement that can be on the equipment side of the same component. Some designs use threaded tube connections or other retention systems, so read the drawing rather than infer the construction from the name. Specify both ends, the intended sealing method, tubing and operating envelope before comparing installation time, service access or cost.
Can one fitting have both a push-in socket and a threaded port?
Yes. A common pneumatic configuration combines a push-in tube socket with a male or female equipment thread. Tube retention and tube sealing are separate from the function of the port engagement. A leak at one interface therefore calls for a different investigation from a leak at the other. Tightening the threaded side may do nothing to correct a damaged or incompletely inserted tube.
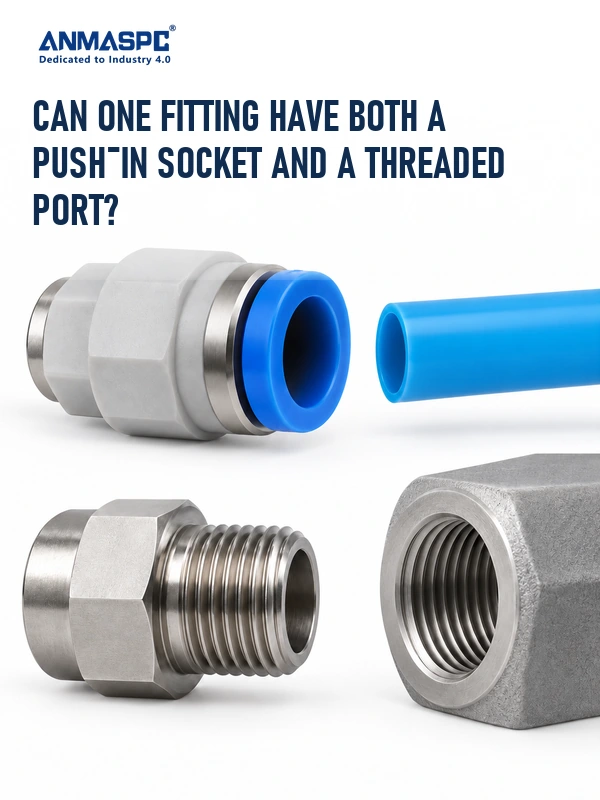
Use the component drawing to identify where each seal is formed. A tapered thread can have a different sealing method from a parallel thread with a face seal. Another tube connection may use a nut, ferrule, barb or proprietary arrangement. Those descriptions require their own instructions and approved tubing. Do not treat every connector with a hexagon as the same mechanism.
| Interface description | What must be identified | What it does not prove |
|---|---|---|
| Push-in tube socket | Tube OD, material, tolerance and insertion method | Automatic shutoff or unlimited reuse |
| Tapered equipment thread | Exact standard, size and approved sealing method | Compatibility with a similar-looking parallel thread |
| Parallel equipment thread | Thread and intended sealing face or element | That extra thread sealant replaces the face seal |
| Other tube-retention arrangement | Drawing, components and approved tube construction | Interchangeability with a push-in socket |
| Complete assembly | Both interfaces and their combined operating limits | Performance inferred from body material alone |
Which dimensions must match before a comparison is useful?
Measure and specify the tube OD separately from the nominal pipe-thread size. Include tubing material, wall construction and dimensional tolerance where required. For the equipment end, identify the full thread designation and sealing arrangement. A part that begins to engage is not necessarily the correct thread; forced assembly can damage the port and make diagnosis more expensive.
O BSP and NPT thread identification guide helps organize those checks. Confirm wrench clearance, release-sleeve access and the space needed to withdraw the tube. A compact component is not useful if another part must be removed every time the connection is serviced.
Oulu’s connector product page is a starting point for requesting a configuration drawing. Product names and photographs should be checked against the selected variant rather than used to infer an unseen interface, thread standard or internal mechanism.
How do installation and disconnection differ?
For a push-in tube socket, the process commonly involves preparing the correct tube, making a square cut, inserting it fully and performing the instructed retention check. The release procedure must be followed after safe isolation and depressurization. Cutting, routing and access remain important even when no tool is needed for ordinary tube insertion.
A threaded equipment joint needs verified mating geometry, clean undamaged engagement and the intended sealing method. Start and tighten it according to the selected maker’s instructions, using the designated tool surfaces. Do not apply force through a release collar or assume that the tube socket should carry the assembly torque. Installation speed should include inspection and leak testing rather than only the time spent turning or inserting a part.
SMC’s KQG2 documentation gives series-specific examples of tool placement, tube precautions and installation restrictions. It supports checking the manufacturer’s actual instruction, not adopting that series’ torque or media limits for every stainless component. The pneumatic connector installation guide provides complementary preparation questions for the complete circuit.
Why can stainless threads seize during assembly?
ASSDA’s galling guidance describes adhesive damage associated with loaded contact and disruption of protective surface films. Thread cleanliness, fit, contact conditions and controlled assembly all matter. Stainless grade alone does not prevent the problem. A joint that suddenly becomes difficult to turn should be investigated rather than forced to the final position.
Use only the selected supplier’s approved sealing and lubrication method. A general recommendation for metal fasteners may be unsuitable for the medium, seals or cleanliness requirements of a pneumatic connection. A bolt torque table also does not describe the assembly requirements of a fitting. Record the actual part, thread and instruction revision so a technician is not left to reconstruct the method from appearance.
What should decide between technically suitable assemblies?
Compare complete solutions for the same job. Include tubing preparation, port installation, tool access, inspection, intended disconnection frequency and replacement availability. A lower part price can be offset by a layout that is difficult to assemble or service, but no saving should be claimed without a real comparison of the work and conditions.
Consider whether the connection is fixed or moves, whether it is exposed to cleaning and whether maintenance can reach it without loading neighboring parts. A fitting’s ability to be positioned during installation does not establish dynamic rotary duty. Establish the required service behavior first and ask the supplier to confirm it for the exact configuration.
| Decision criterion | Question for the comparison | Provas a reter |
|---|---|---|
| Assembly work | What preparation and tools does the complete joint require? | Written sequence and representative assembly observation |
| Acesso ao serviço | Can the tube be released and the port serviced in place? | Layout drawing and clearance check |
| Operating suitability | Do all materials and interfaces cover the same duty? | Exact model and tube data |
| Repeat maintenance | What can be reused and what must be replaced? | Supplier restrictions and inspection criteria |
| Verificação | How will leakage and function be accepted? | Test conditions, method and recorded result |
How should leaks be investigated before changing the connection type?
Locate the leak and record when it occurs. A tube-entry leak may involve a damaged end, wrong OD, incomplete insertion or side load. A threaded-port leak may involve mismatched geometry, damaged engagement or an unsuitable sealing element. Do not replace the whole connection concept before checking those identifiable causes.
Repeat the agreed test after the verified correction, keeping the same relevant conditions. Include a functional check for the intended machine cycle and document any change to parts or routing. An unexplained improvement after several simultaneous changes is less useful than a repair record that identifies what was wrong and how it was verified.
What should a purchase order specify on both sides?
List the selected part, drawing revision, tube interface, equipment thread, sealing method, medium and operating conditions. Include material or surface-finish requirements only where the application requires them, with a defined way to verify them. Review cleaning chemicals and exposure separately from the body grade. ASSDA’s corrosion and cleaning guidance reinforces the need to assess the actual environment.
Oulu’s Área de peças pneumáticas can support configuration review once those details are known. Request the current documents for the chosen model and do not assume a different variant has the same limitations. Freeze the approved configuration so later supply does not quietly change the interfaces.
Perguntas frequentes
How do you test the stainless steel pipe fitting after installation?
Use the supplier and project procedure for the complete assembly, identifying the conditions, instrument and acceptance limits. Inspect the tube and equipment interfaces separately, then confirm function through the required cycle. A visual check alone does not establish leak integrity.
What causes leaks around the threads of the stainless steel pipe fitting?
Mismatched threads, damage, incorrect assembly or the wrong sealing arrangement can cause port leakage. Locate the source before tightening. Leakage from a tube socket or nearby component needs a different investigation and may not respond to port tightening.
Are push-in and threaded versions of the stainless steel pipe fitting interchangeable?
Not from their names alone. One part can combine both interfaces, and two alternatives may require different tubing or ports. Compare the drawing, dimensions, sealing method and complete operating conditions before approving a substitution.
How do you clean and maintain the stainless steel pipe fitting?
Isolate the circuit and follow the selected assembly’s cleaning instructions. Check cleaner compatibility with all exposed materials, rinse and dry as specified, and inspect before service. Surface-cleaning advice for bare stainless steel does not approve chemicals for assembled seals.
What surface finish and sealing material should buyers specify?
Specify what the actual medium, cleaning process and application require, then request verifiable documents for the chosen part. Avoid assuming a stainless appearance establishes a particular finish, seal compound, contact-zone approval or chemical resistance.
When should a stainless steel pipe fitting be replaced rather than repaired?
Replace it when damage or condition is outside the supplier’s acceptance criteria, when the model is unsuitable for changed service or when the permitted repair cannot restore the documented assembly. Investigate recurrent leakage before installing another part.
Referências
- SMC, KQG2 stainless steel one-touch fittings catalogue: configuration and installation example.
- ASSDA, Galling and its control.
- ASSDA, Technical FAQ 8: General corrosion resistance.
- ASSDA, Cleaning your indoor stainless steel; surface-care guidance.
Summary
Push-in and threaded describe connection features that can coexist in one part. Start by identifying the tube-side interface and the equipment-port thread, then verify their dimensions, sealing methods and combined service conditions. Compare complete assemblies on installation access, maintenance requirements and acceptance evidence rather than assuming one label guarantees better performance. Investigate the actual leak location before changing the connection type, and stop abnormal thread engagement before damage spreads to the port. Retain the exact configuration so later maintenance preserves the approved interfaces. Oulu’s available configurations can be reviewed against the approved drawing and duty, with the selected model’s instructions governing assembly, cleaning and replacement decisions throughout service.