When a hypothetical telecom installer named Maya in Rotterdam trimmed a microduct and pushed it into a connector, the air test failed almost immediately. The visible problem looked like a defective fitting, but a second check found an out-of-square tube end and a connector selected without confirming the duct dimensions. This illustrative scene captures the practical lesson: manufacturing quality and installation discipline work together. A connector can only seal, retain and protect a route when its parts are made consistently and matched to the application.
Sintesi: Microduct connector production is a controlled sequence: prepare material, mold the body, make sealing and retaining parts, finish critical surfaces, assemble, inspect and package. The seven-stage description below is a useful process map, not a promise that every factory uses identical equipment or sampling. ISO 9001:2015 describes a quality-management framework; it is not a product certification. Buyers should therefore request current drawings, material and inspection records, then verify fit on the intended HDPE microduct before approving a production lot.
What are the main stages in microduct connector production?
A connector combines a body with sealing and retention elements. The production description for this product family identifies injection molding for the plastic body, weighed material for sealing rings, stamped stainless-steel circlips, machining or finishing before assembly, and a final inspection and packing step. The exact resin, dimensions and test limits must come from the manufacturer’s current technical documents; they should not be inferred from appearance alone.
| Stage | Scopo | Procurement evidence to request |
|---|---|---|
| Material preparation | Keep incoming materials identified and ready for the planned part. | Material identification, revision-controlled bill of materials and incoming inspection record. |
| Body injection molding | Form the connector housing and its functional geometry. | Drawing revision, cavity or lot traceability and dimensional inspection plan. |
| Sealing-ring production | Produce the elastomeric element that supports sealing around the duct. | Seal material specification, weighing or batch controls and acceptance criteria. |
| Circlip stamping | Make the retaining element that helps hold a seated duct. | Metal specification, profile drawing and burr or deformation checks. |
| Finishing | Remove molding or machining issues that could obstruct assembly or seating. | Defined finishing steps and a visual or dimensional inspection record. |
| Assembly and inspection | Combine parts, then check the finished connector against release criteria. | Assembly instructions, sampling plan and applicable pressure or retention test reports. |
| Packaging | Protect accepted parts and preserve identification through shipment. | Lot label, quantity, storage guidance and packaging specification. |
Why do molding and part consistency matter at installation?
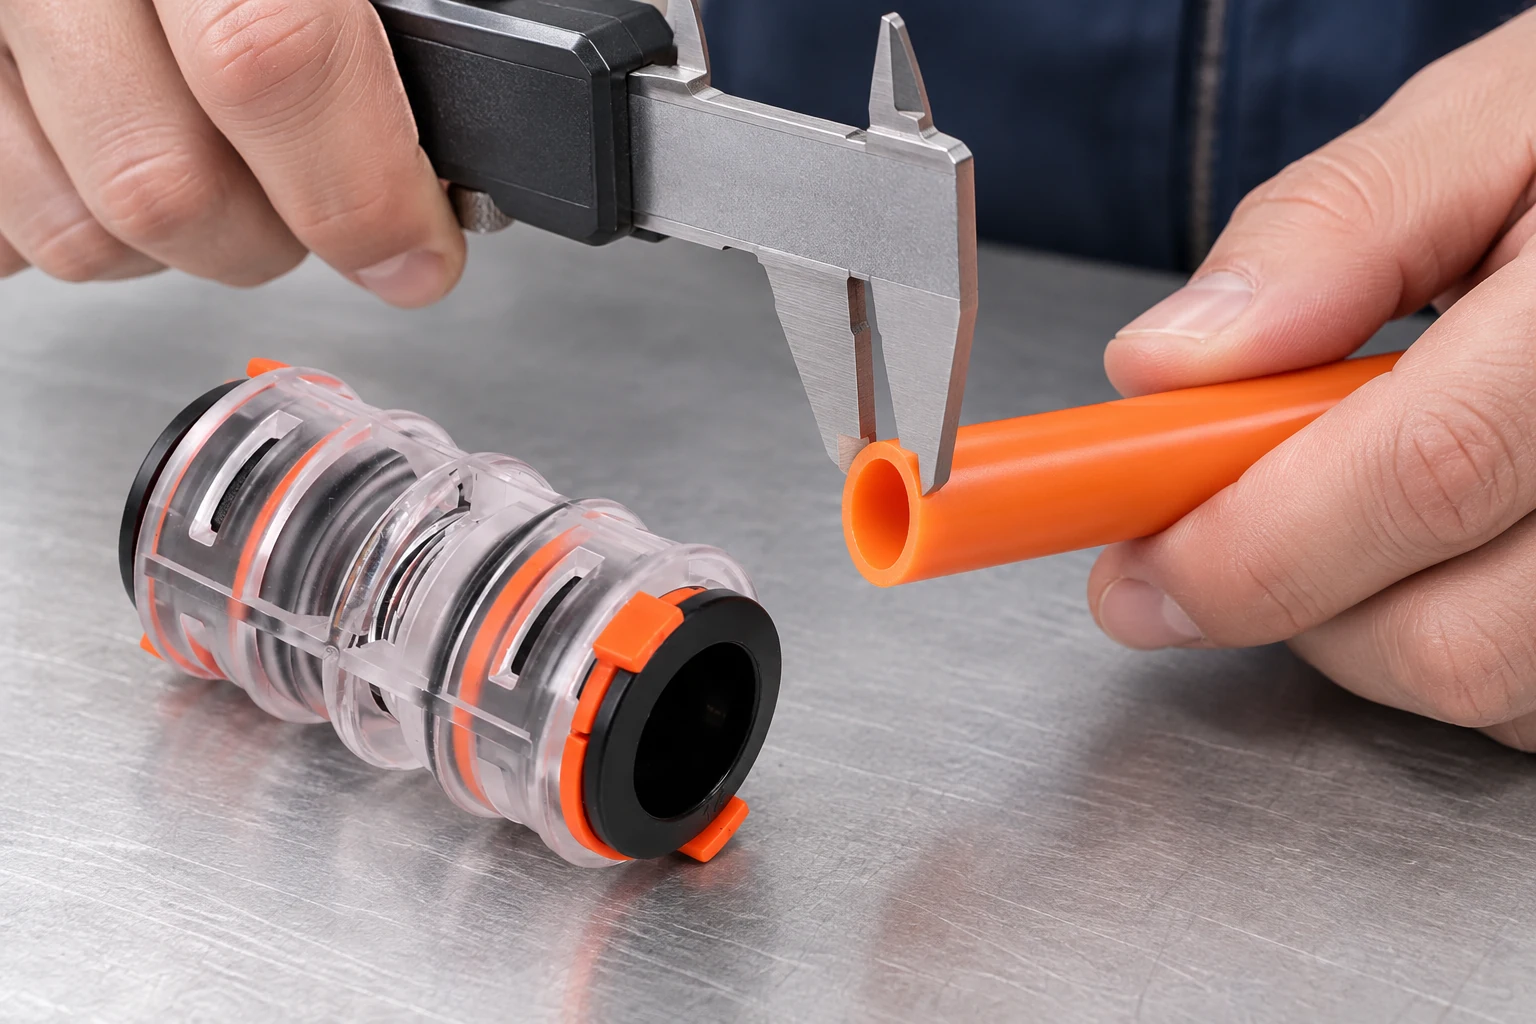
The connector body, seal and retaining part form one interface. Small variation in the bore, seal seat or circlip profile can change insertion force, retention or the ability to maintain a sealed path. This is especially important when a route will be used for air-blown fiber: a poorly seated tube can leak air, while an internal step or damaged edge can obstruct the cable. Dimensional control is therefore more useful than a broad claim such as “high quality.” Ask for the controlled dimensions that affect your duct size and for the method used to measure them.
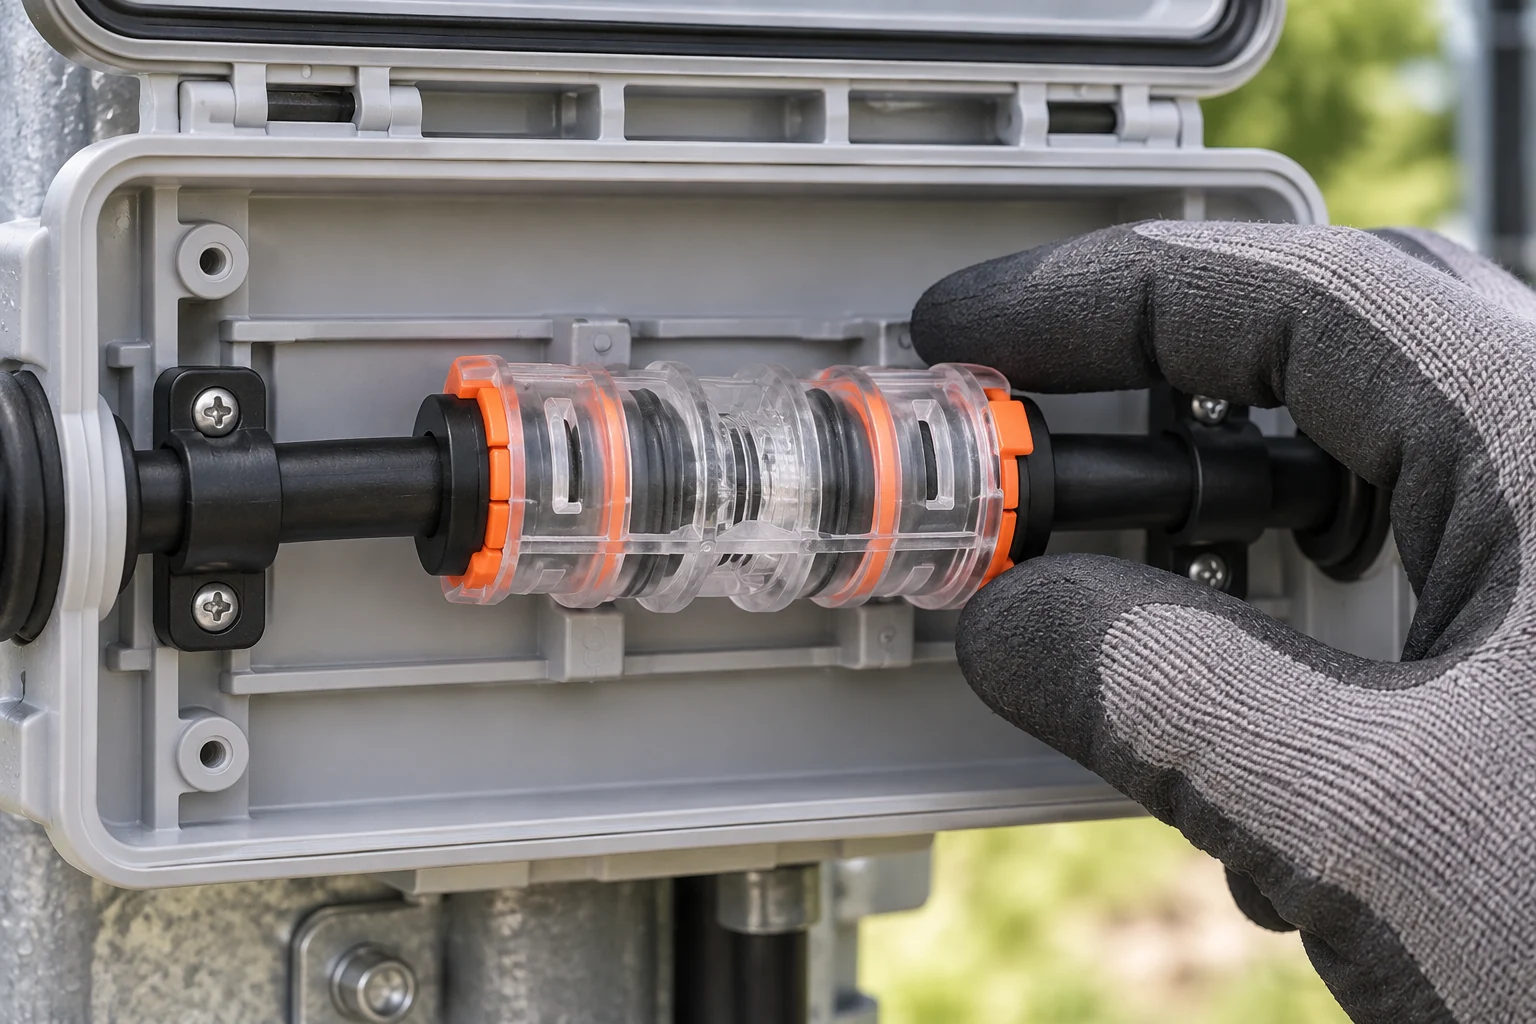
Visual transparency can also support field inspection. It may let an installer see whether the duct end has reached the intended stop and whether the connection is visibly aligned. It does not, by itself, prove pressure performance, long-term durability or direct-burial suitability. Those claims require application-specific evidence and a connector design intended for that environment.
Which inspection records should a buyer review before approval?
Start with a drawing that identifies duct outside diameter, wall or construction assumptions, insertion depth and any permitted tolerance. Then connect each critical feature to an inspection method. A useful release pack links the lot number to incoming material checks, molded-body dimensions, seal and circlip checks, assembly verification and the tests required by the purchase specification. The legacy process description mentions tension and pressure testing and spot inspection; treat that as a description of a process, not as a current certificate or a guaranteed acceptance rate. Request the current sampling plan and signed results for the lot being purchased.
| Question at approval | Why it matters | Action for the buyer |
|---|---|---|
| Does the drawing match the selected duct? | Nominally similar ducts can have different outside diameters and tolerances. | Send the duct data sheet and confirm the connector part number in writing. |
| Are seal and retention parts traceable? | Mixed batches can make a failure difficult to diagnose. | Request lot identification and assembly traceability. |
| What does “pressure tested” mean? | Pressure, duration, medium and fixture determine what a result proves. | Ask for the test method, limits and representative report; do not treat the phrase as a certification. |
| Is the route direct-buried, exposed or accessible? | Environment changes the required connector design and maintenance plan. | Confirm the intended installation method and any environmental qualification in the technical file. |
| Can the installer inspect seating? | Early detection prevents an air leak or later rework. | Use a transparent design where supplied, while still following the maker’s installation procedure. |
How should connector selection change with the route?
Choose the connector after defining the route, not simply from a catalog photograph. A straight connector is appropriate only when the ducts and sizes align; a reducer is a different interface and needs confirmed dimensions at both ends. End stops, gas-water-block designs and divisible seals serve different closure or access needs. For an air-blown installation, coordinate the connector with the air-blown fiber installation method, including preparation of the duct ends and verification of a continuous internal path.
Procurement teams can compare the microduct connector range against the route bill of materials, and use the HDPE microduct product information to confirm the interfaces are described consistently. A separate review of how to choose the right connector can help turn those dimensions into a documented selection decision.
Which standards help frame quality and compliance?
- ISO 9001:2015 sets requirements for a quality-management system. It does not certify a particular connector, material or pressure result.
- IEC standards catalogue (search for IEC 60794-5:2020) addresses the outdoor-microduct scope in the fibre-optic cable standards family. Use it to clarify the cable or microduct scope of a project; it is not a blanket connector approval.
- EN 50411-2-8 concerns fibre-management systems and protective housings. Confirm the edition, product scope and destination-market requirements before citing it in a specification.
Commercially, unsupported compliance language can create failed approvals, rework and disputes over responsibility. State exactly what has been tested, to which method, on which configuration and for which installation environment.
What should a practical purchasing checklist include?
- Record the duct manufacturer, dimensions, material and permitted tolerance.
- Select the connector style and environment: straight, reducing, end stop, sealing or direct-buried application as applicable.
- Request a current drawing, bill of materials and installation instructions tied to the part number.
- Agree inspection, sampling, pressure or retention test requirements before production, including the report format.
- Run a controlled fit check with the actual duct and document seating, alignment and any air-test result required by the project.
Oulu / ANMASPC presents microduct connectors and related pneumatic products through its public catalog. Treat that catalog as a starting point for configuration and documentation discussions; confirm current specifications and available evidence with the supplier before placing an order.
Domande frequenti
What material is commonly used to make a microduct connector?
Many designs use a molded polymer body with separate sealing and retaining parts, but the exact material must be confirmed in the current drawing or bill of materials. Do not infer resin grade or environmental resistance from a transparent appearance. Ask for the material specification and its intended application limits.
How is a microduct connector checked after molding?
Typical controls include visual inspection and measurement of dimensions that affect duct seating, seal placement and retention. The applicable pressure or tension test depends on the project specification and connector design. Request the actual method, limits and lot traceability rather than accepting an unspecific “tested” statement.
Why does connector dimensional consistency matter for air blowing?
An uneven bore, mis-seated seal or protruding edge can create an air leak or an obstruction in the duct path. Consistent dimensions make installation more repeatable and reduce troubleshooting. The connector still has to be matched to the duct and installed with a prepared, square end.
What should a buyer request in a microduct connector drawing?
Request the interface dimensions, tolerances, insertion or stop details, materials, sealing elements, retention method and revision number. The drawing should identify the part unambiguously and state any installation or environmental limitations. Cross-check it against the duct data sheet before approval.
How can a transparent connector help during installation?
When the design includes a transparent body, the installer may be able to see duct alignment and whether the end has reached the stop. That visual cue supports a field check, but it is not proof of pressure integrity or long-term service life. Follow the installation instructions and perform the specified test.
Are all microduct connectors suitable for direct-buried routes?
No. Direct burial exposes a connection to different mechanical and environmental conditions than an accessible indoor or cabinet installation. Use a connector explicitly documented for the route and verify the required sealing, protection and test evidence. If the documentation is unclear, stop and obtain a written suitability statement.
Conclusione
Microduct connectors are made through a sequence of material control, molding, component production, finishing, assembly, inspection and packaging. The sequence only creates value when each stage is tied to the duct interface and the intended route. For a procurement team, the practical next step is to freeze the drawing revision, confirm dimensions with the actual HDPE microduct, and agree the inspection and test records before production begins. During installation, square-cut and fully seated ducts, visible alignment checks and documented acceptance tests prevent a small interface error from becoming a fiber-blowing delay. A connector should be judged by traceable evidence and application fit, not by a generic quality claim. That discipline turns a catalog component into a dependable part of the network.